Storm Damage Repair: A Homeowner’s Complete Action Plan
Storm damage repair starts with one simple rule: act fast, but stay safe. After a storm, the first few hours matter because small problems can turn into bigger ones if water, wind, or broken materials are left alone.
This guide gives homeowners a clear action plan for storm damage repair, from safety checks to documentation, emergency repair, and insurance claims. If you need help with mitigation services or claim support, US Public Adjusters can help guide the next steps.
Start With Safety First
Before you touch anything, make sure the home is safe. Check for gas smells, broken wires, fallen trees, or structural damage. If the house feels unsafe, leave and call emergency services or the right repair professionals.
Do not climb on a wet roof or walk through standing water if electricity may still be active. Storm damage repair should never begin before you know the area is safe. If water is still entering the home, temporary mitigation may be needed right away to stop more damage.
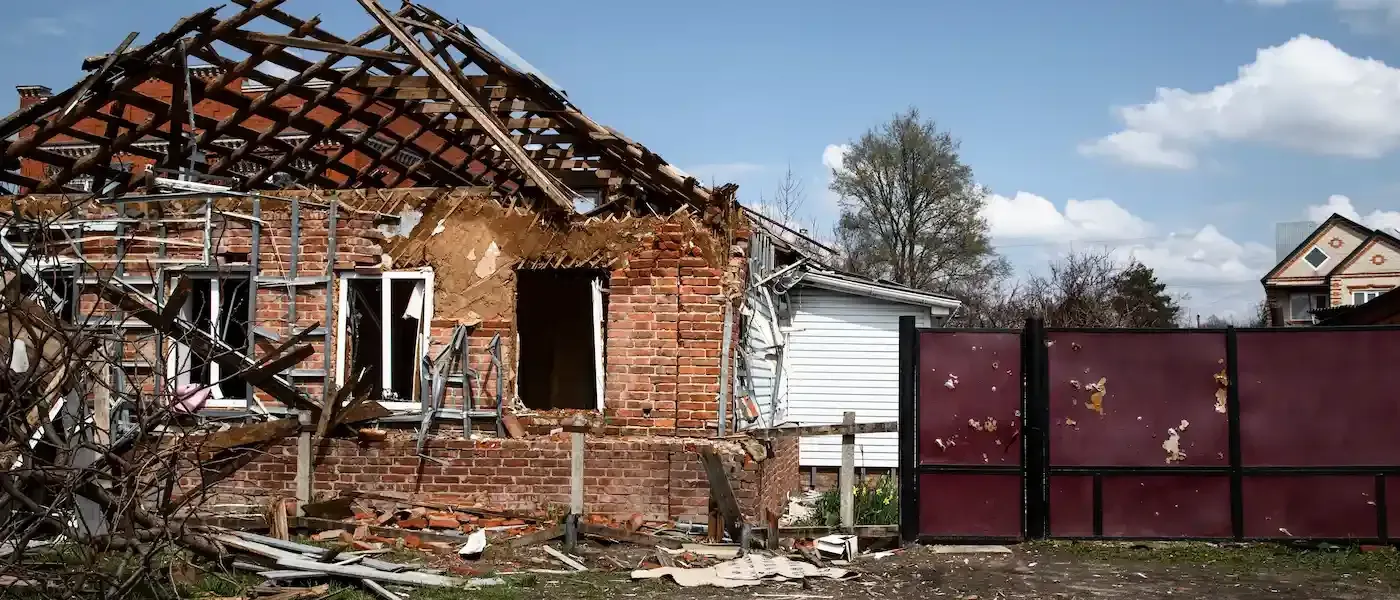
What Storm Damage Includes
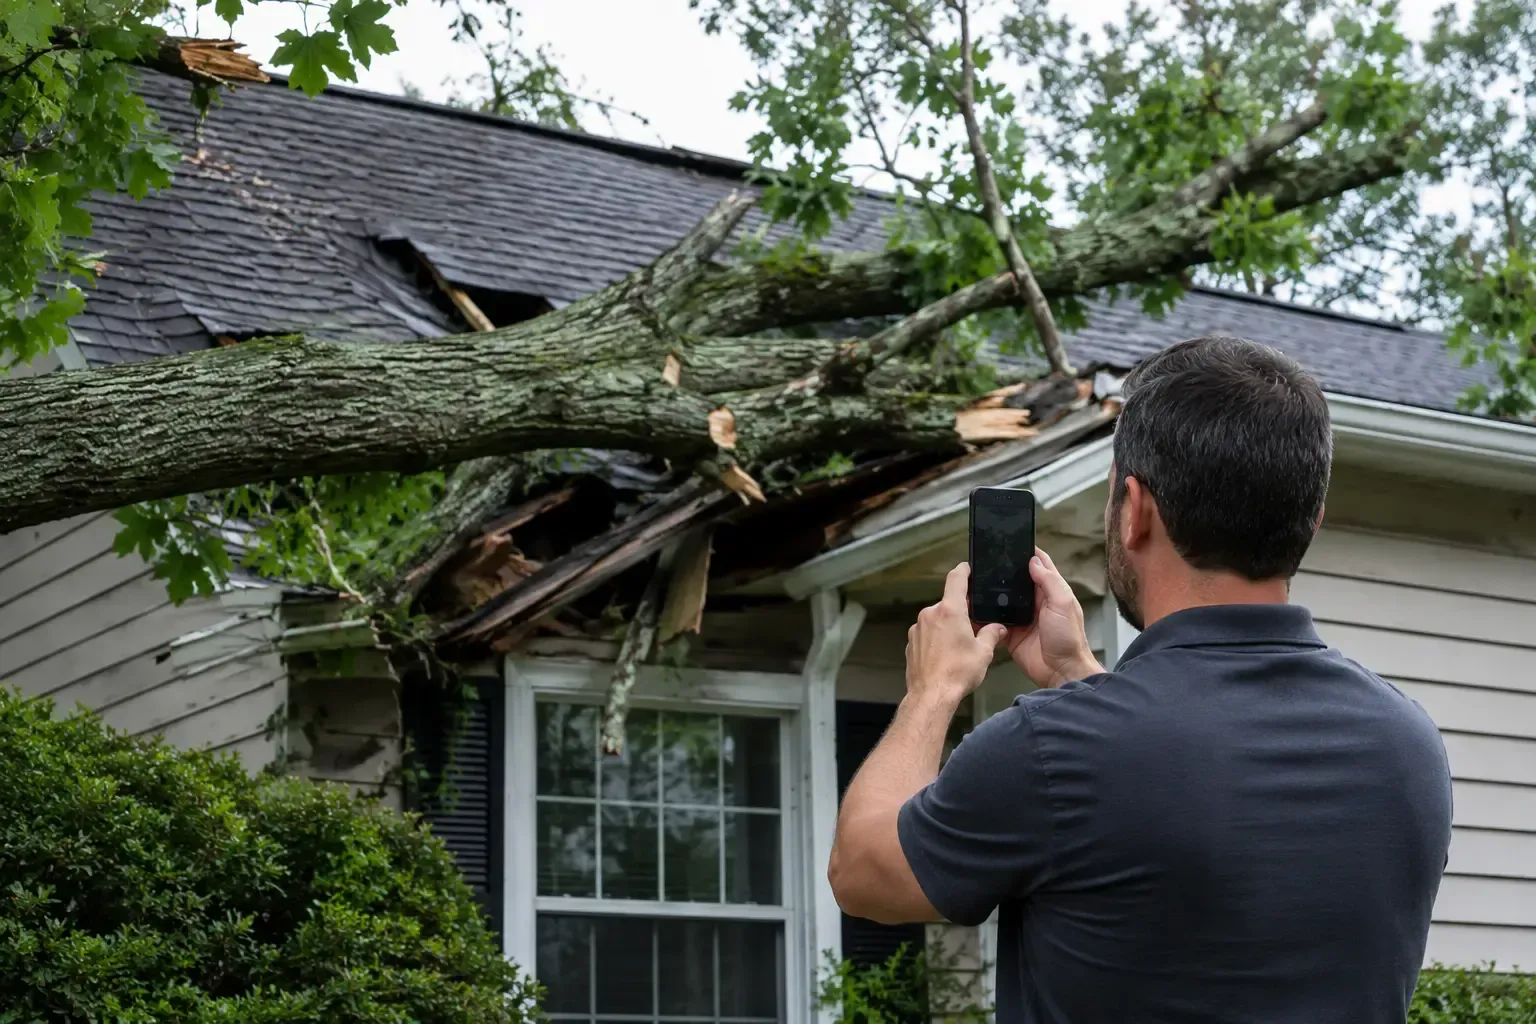
Storm damage can affect many parts of a home. It may show up on the roof, siding, windows, gutters, attic, ceilings, floors, or fences.
Some damage is easy to see, like missing shingles or broken windows. Other damage hides behind walls or under roof layers. Wind damage, hail damage, and water leaks are some of the most common problems after a severe storm.
For many homeowners, mitigation services are the first step after the storm because they help limit further loss while the claim is being reviewed.
Use a Post-Storm Checklist
A post-storm checklist keeps you organized when things feel stressful. Start by walking around the property only if it is safe. Take photos before moving anything.
Check these areas:
- Roof edges.
- Missing shingles.
- Gutters and downspouts.
- Siding and trim.
- Windows and doors.
- Ceiling stains.
- Floors and baseboards.
- Fences and sheds.
- HVAC equipment.
- Fallen branches or debris.
Write down the date, time, and type of storm. Save weather alerts, notes, and receipts. Good records make insurance claims much easier later.
Document Wind Damage and Hail Damage
Photos are one of the most important parts of a storm claim. Take wide shots and close-up shots. Capture damage from several angles.
For wind damage, look for torn shingles, bent flashing, lifted siding, and broken fence panels. For hail damage, take pictures of dents on gutters, roof vents, siding, and outdoor items. Stay on the ground when possible and avoid dangerous roof access.
The Insurance Information Institute notes that many homeowners policies cover windstorms and hail, while flood and earthquake damage often need separate coverage. That is why policy review matters after any major storm.
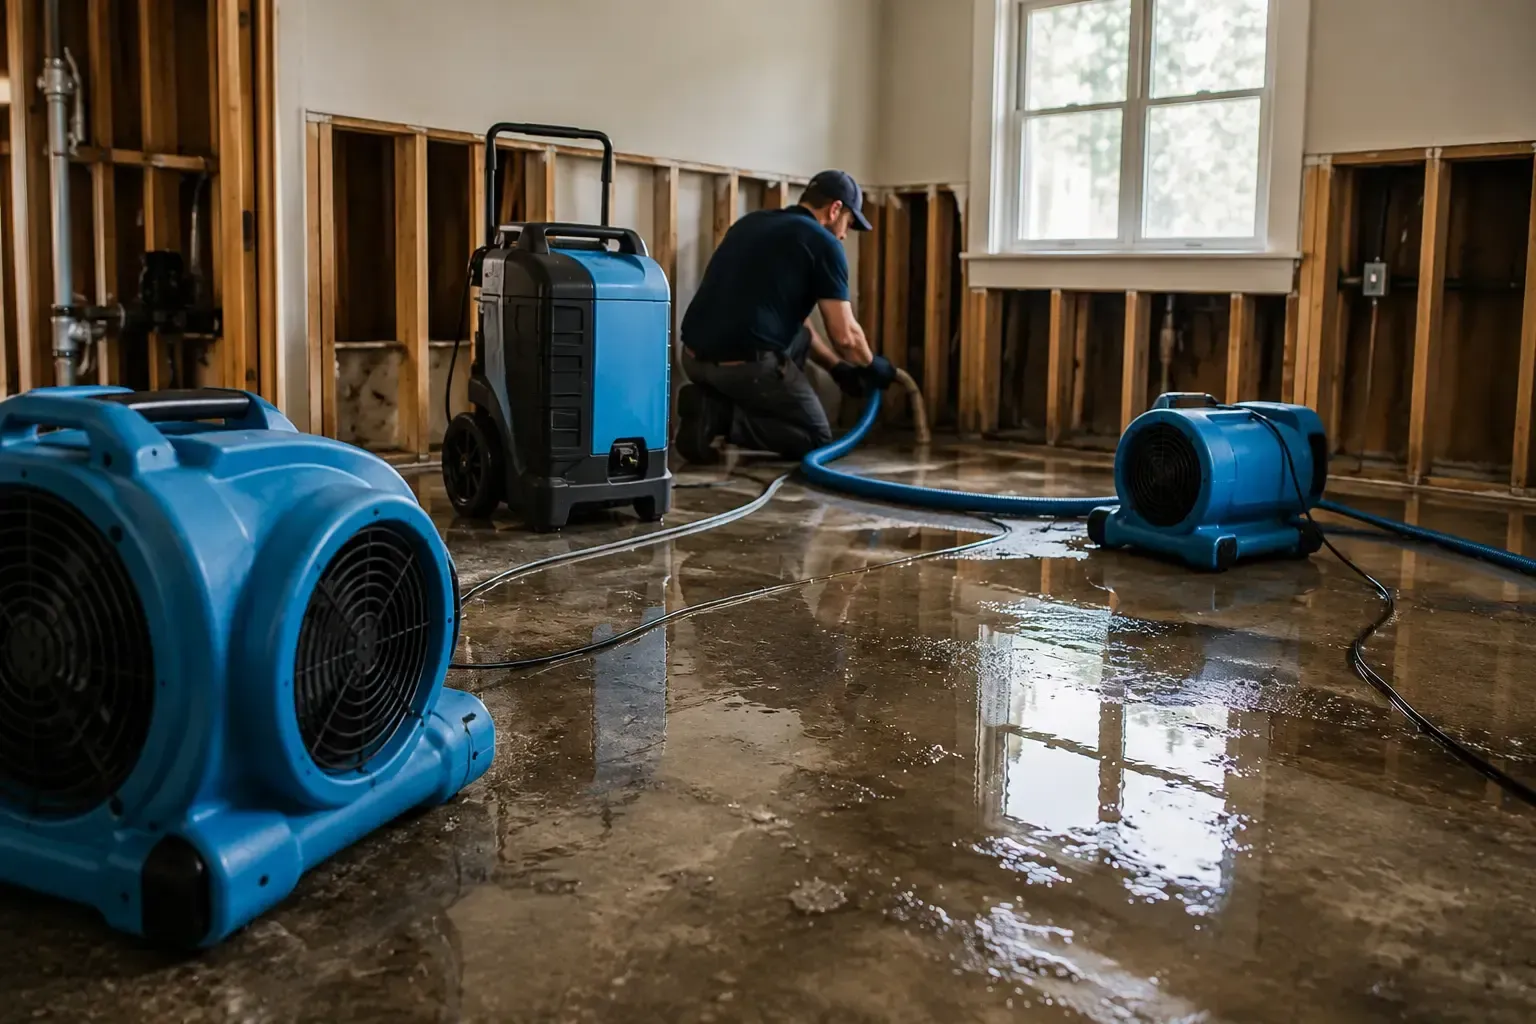
Prevent More Damage Right Away
Most insurance policies expect homeowners to take reasonable steps to stop more damage. That does not mean you must finish all repairs right away. It means you should protect the home from getting worse.
Emergency repair may include roof tarping, boarding broken windows, water removal, or drying wet rooms. Save every receipt because these costs may matter during claim review.
US Public Adjusters assistance with payouts and post-negotiation construction can help homeowners connect emergency steps with the larger repair process.
Review Your Insurance Policy
After the home is safe, check your policy. Look at your deductible, coverage limits, exclusions, and reporting rules. Also check whether your policy treats wind and hail differently.
Some losses are covered more easily than others. Water from rising floodwater may need separate insurance. Mold, sewer backup, and long-term leaks may have special limits too.
If the policy is confusing, do not guess. US Public Adjusters offers public adjusting services for insurance claims to help homeowners understand the claim process and possible next steps.
File the Claim Clearly
When you contact the insurance company, keep your message simple and clear. Share the date of the storm, the type of damage, the areas affected, and what emergency repair steps you already took.
Your claim file should include:
- Photos and videos.
- Written damage notes.
- Emergency repair receipts.
- Contractor estimates.
- Mitigation invoices.
- Insurance policy details.
- Communication records.
Keep everything in one folder so you do not lose track of important documents. Clear claim documentation can help reduce confusion later.
A Simple Claim Timeline
Here is a simple step-by-step timeline for storm damage repair:
- Check safety.
- Take photos.
- Stop more damage with emergency repair.
- Review your insurance policy.
- File the claim.
- Compare the estimate with the real damage.
- Schedule permanent repairs.
This timeline keeps the process easy to follow and helps you avoid rushed choices.
Watch Out for Fast-Talk Contractors
After a major storm, some contractors may try to move fast. That is not always a bad thing, but you should still be careful.
Do not sign anything until you understand the estimate, scope of work, and payment terms. Ask for written pricing, proof of insurance, and a clear timeline. A good contractor should answer questions without pressure.
If a contractor tells you to skip photos or rush the claim, take a step back. The best storm damage repair plan is careful, not rushed.
Compare the Estimate to the Damage
Once the insurance adjuster has reviewed the home, you may get an estimate. Read it closely. Make sure it includes the damaged areas, proper materials, labor, and debris removal if needed.
Some storm losses are hidden. Roof decking, wall damage, and water inside the structure may not show at first. That is why a second review can be useful if the estimate seems too low or too short.
US Public Adjusters commercial claim services may also help business owners dealing with larger property losses after a storm.
Schedule Permanent Repairs
After the claim is moving in the right direction, permanent repairs can begin. These may include roof repair, siding replacement, window work, drywall repair, flooring, or painting.
Choose contractors who give written estimates and explain the repair plan clearly. Make sure the repair fixes the cause of the damage, not just the surface problem. A good repair should protect the home from future water entry and storm issues.
Common Mistakes to Avoid
Many homeowners make simple mistakes after a storm. The first mistake is cleaning up before taking photos. The second is waiting too long to stop active water damage. The third is hiring the first contractor who shows up at the door.
Another mistake is accepting the first insurance estimate without checking the details. Missing line items can create out-of-pocket costs later. Small damage should also be taken seriously because it can turn into bigger damage over time.
When Mitigation Services Help
Mitigation is not the same as full repair. It means reducing more damage after the storm. That can include drying, tarping, board-up work, and moisture control.
This step matters because water and structural damage can get worse fast. Wet drywall, soaked insulation, and hidden moisture can lead to mold and bigger repair bills. If your home has active leaks or standing water, mitigation should be considered quickly.
Conclusion
Storm damage repair works best when you follow a clear plan. Start with safety, then document the damage, stop more loss, review the policy, and file the claim with care.
Wind damage, hail damage, and water problems can feel overwhelming, but a step-by-step process helps you stay in control. If you need help with claim documentation, mitigation, or insurance support,
US Public Adjusters and its
Google Business Profile can be useful places to start.
Frequently Asked Questions
What should I do first after storm damage?
First, make sure everyone is safe and avoid dangerous areas. Then take photos and start documenting the damage.
What is storm damage repair?
Storm damage repair is the process of fixing damage caused by wind, hail, rain, or fallen trees.
It may include roof, siding, window, and interior repairs.
Is wind damage covered by insurance?
Many homeowners policies cover wind damage, but every policy is different. Check your deductible, limits, and exclusions before assuming coverage.
What does hail damage look like?
Hail damage may show up as dents, cracked shingles, bent gutters, or bruised roofing. It can also affect siding, vents, and outdoor items.
What is emergency repair?
Emergency repair is temporary work that stops more damage after a storm. It may include tarping, board-up, or water removal.
Recent Posts