If you are wondering what to do after water damage, the first step is to stay calm and act fast. The first 48 hours matter because water can spread, weaken materials, and raise the chance of mold and bigger repair problems.
This guide gives homeowners, renters, and property managers a simple action plan. It explains water cleanup, mold prevention, drying out, and emergency response in clear steps so you can protect the property and keep the damage from growing.
So, let’s start talking about those steps and mitigation services in detail.
Why the First 48 Hours Matter
The first two days after water damage are important because water keeps moving until it is stopped and removed. It can soak into floors, drywall, baseboards, insulation, and furniture.
If the moisture stays too long, the problem can become harder to fix. That is why fast water mitigation, careful insurance reporting, and good documentation matter so much. For help with emergency planning, US Public Adjusters can guide the next steps.
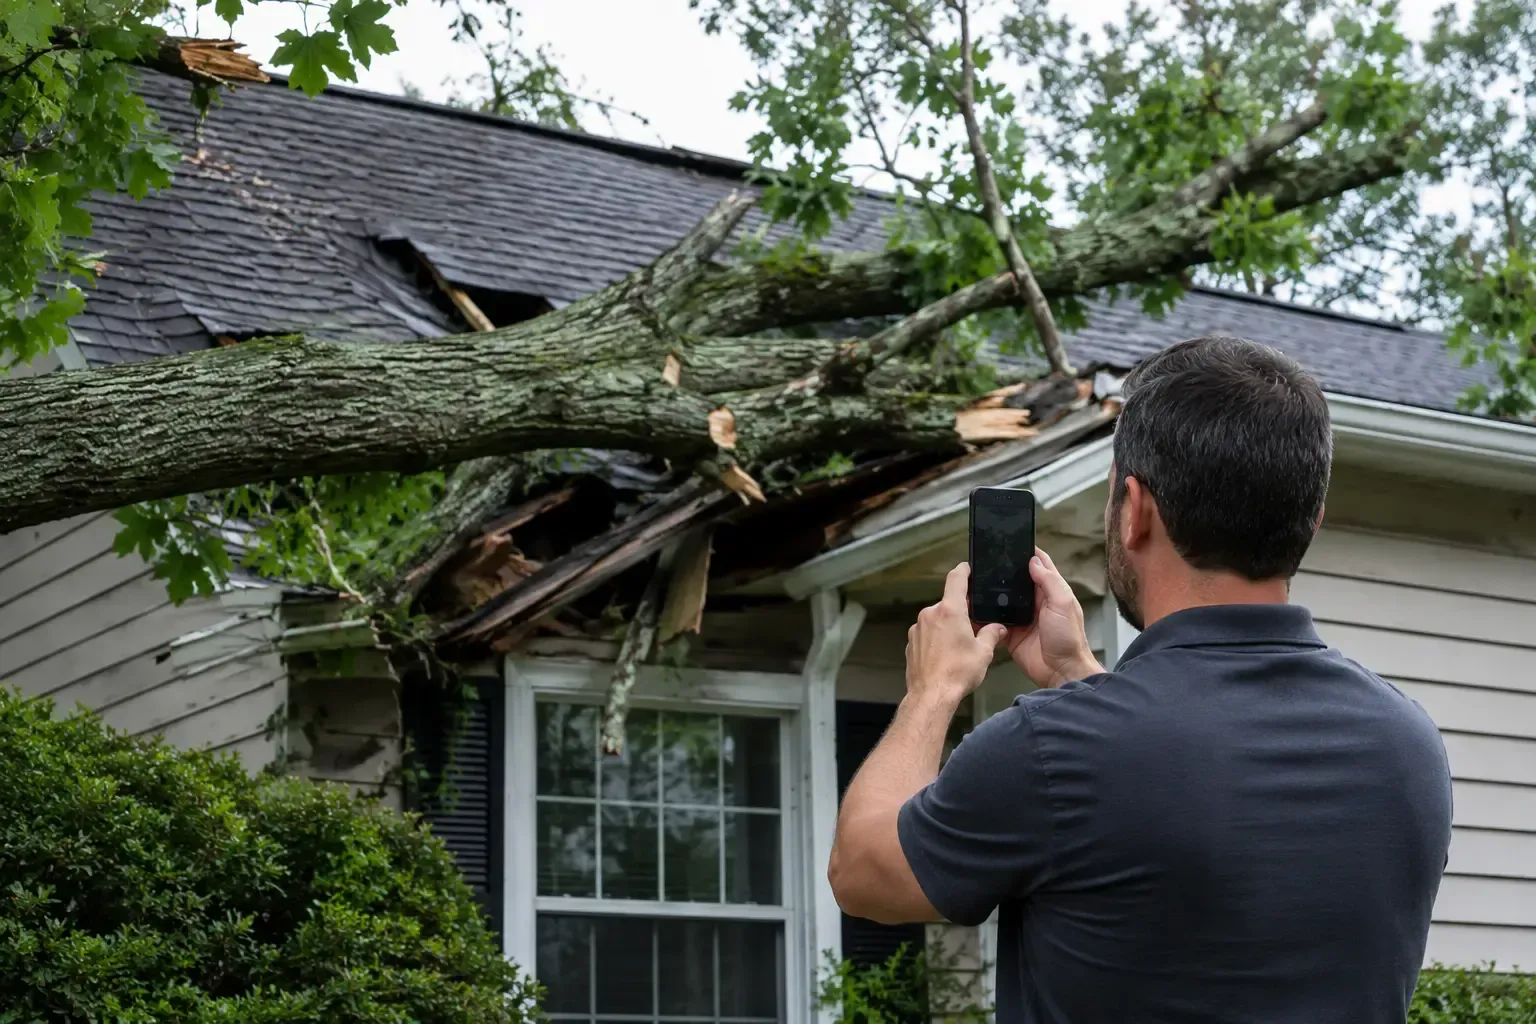
Step 1: Make the Area Safe
Before anything else, check for danger. If there is standing water near power outlets, sparks, a gas smell, or a damaged ceiling, do not enter the area.
If you are not sure the space is safe, leave and call the proper emergency help. Emergency response means acting quickly to stop more harm while keeping people safe. If water is still coming in, temporary protection may be needed right away through mitigation services.
Step 2: Stop the Water Source
If it has been confirmed that the area is indeed secure, then you should attempt to stop the source of the water if possible. You might need to turn off your main water valve or turn off the source of a leak on one of your appliances.
When the water has been caused by a storm, a roof leak, or some type of flooding, the source may be harder to immediately stop. If that is the case, the effort will need to switch to flood damage repair efforts.
Step 3: Document Everything Early
Take photos and videos before moving items, cleaning, or throwing anything away. Good records can help later with insurance reporting and property restoration.
Capture wide shots of the room and close-up shots of the damage. Show wet floors, stained ceilings, damaged furniture, and water lines on walls. If the loss becomes part of a larger insurance claim, detailed reporting can support a clearer case.
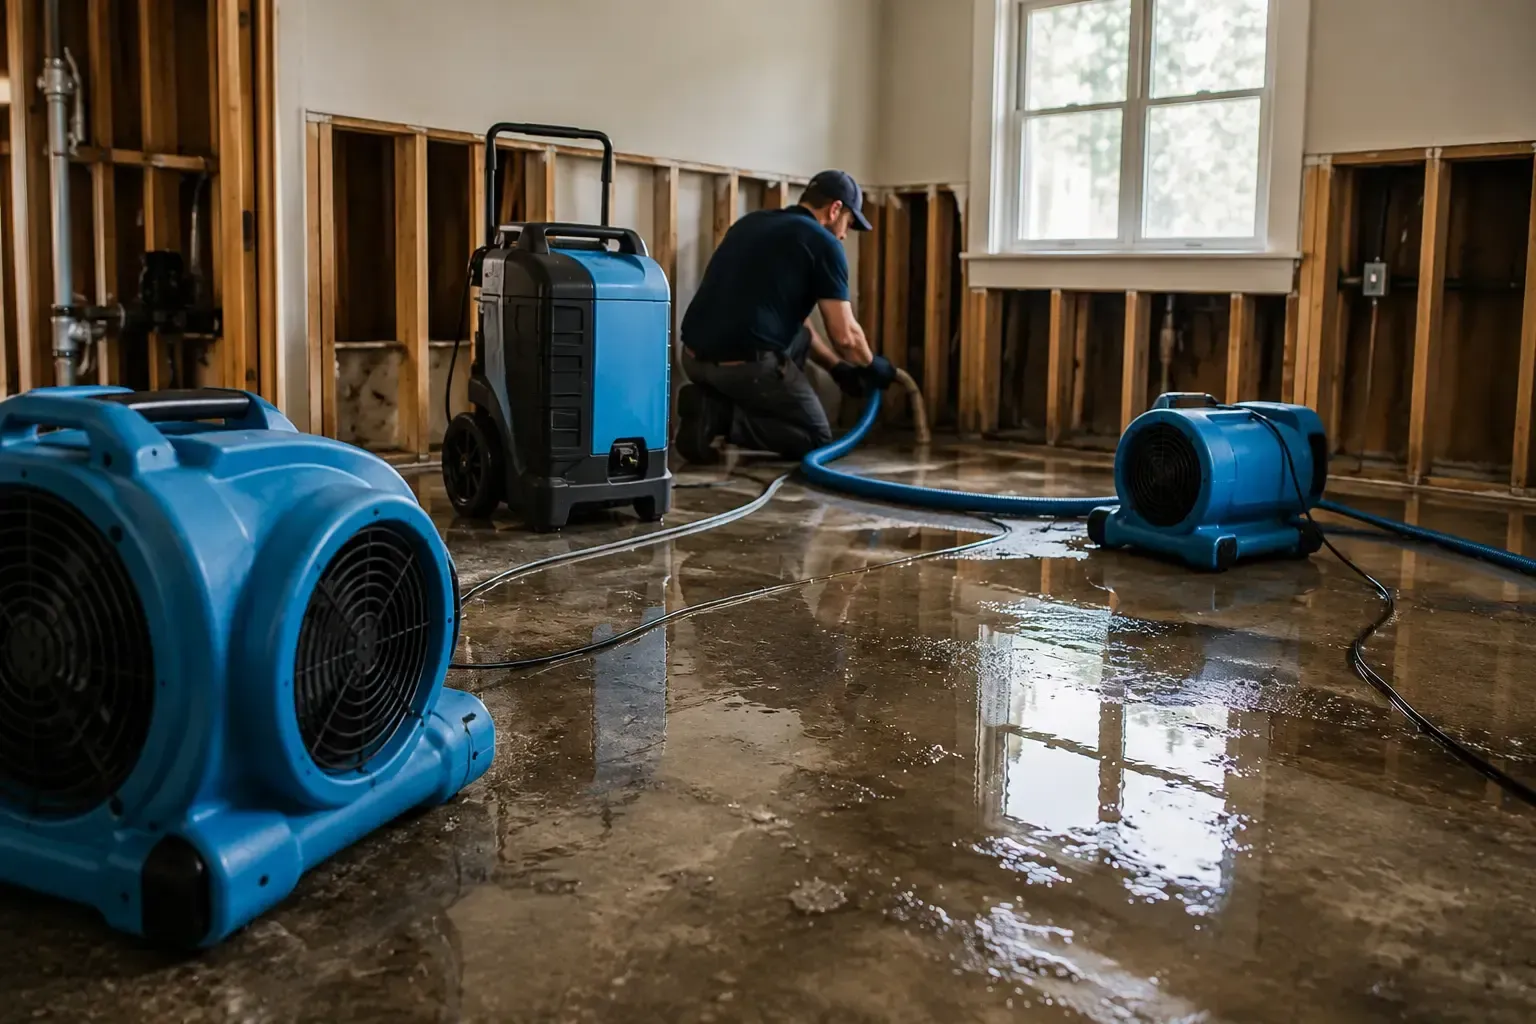
Step 4: Start Water Cleanup
Water remediation must be done as quickly as it is safely possible. If feasible, remove any standing water, and keep any wet materials away from dry areas.
Make use of towels, vacuum cleaners, fans, and the flow of fresh air into the home. Do not wait until there is a terrible odor before doing so; the longer that the water remains in place, the greater its chances of spreading to concealed locations.
Step 5: Begin Drying Out the Property
“Dry-out” is the process of eliminating moisture from the space as opposed to the surface alone. It is perhaps one of the most crucial aspects of water mitigation.
Opening up the windows where conditions permit is recommended. Fans should be switched on along with dehumidifiers. Carpets and furniture need to be shifted around, thus allowing airflow. Structural drying may also have to take place, whereby walls, flooring, and structures are dried out.
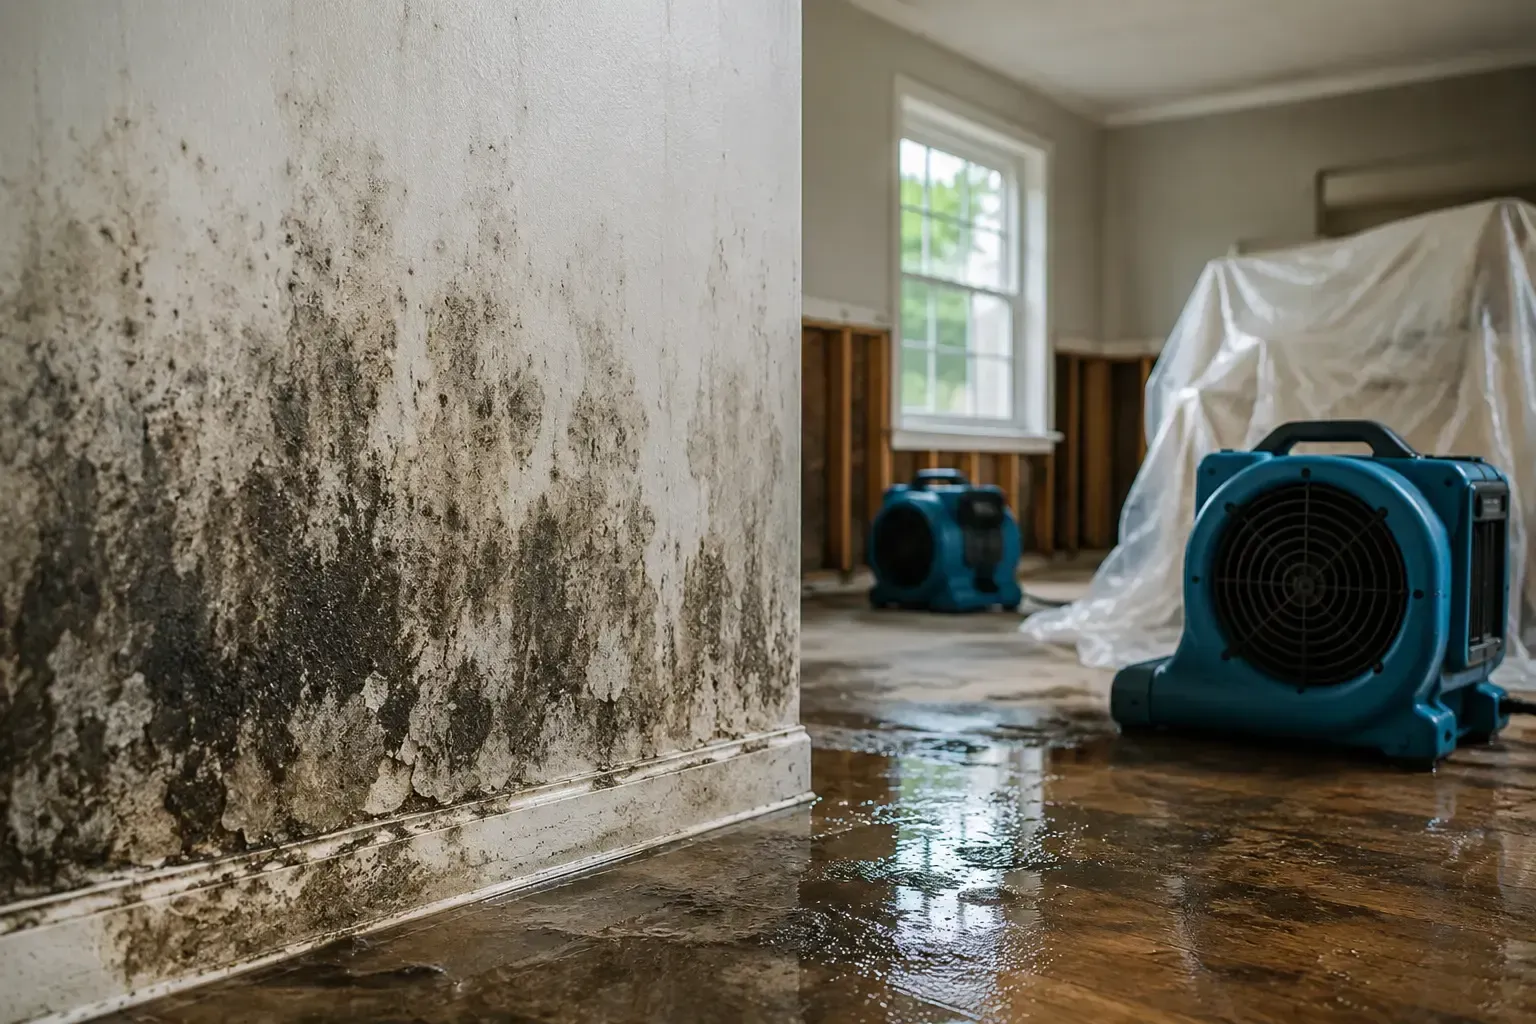
Step 6: Protect Against Mold
Mold can begin when wet materials stay damp too long. That is why mold prevention is not a later step. It starts right away.
Remove soaked items that cannot be saved. Keep the area dry and well aired. If the water was dirty, sewage-related, or flood-related, extra caution is needed. When in doubt, treat the area as a health risk until it is fully checked.
Step 7: Review the Damage Type
Not every water loss is the same. A small pipe leak, a roof leak, and floodwater all need different flood damage steps.
A clean water leak may be easier to manage than water that came from outside or from contaminated sources. That difference matters for cleanup, safety, and insurance reporting. It can also affect the kind of water mitigation the property needs.
Step 8: Contact the Right Help
Some water damage can be handled quickly, but bigger losses often need professional help. If the water spread into walls, floors, or multiple rooms, the property may need a more complete emergency response.
That is where public adjusting services for insurance claims may be helpful if the damage becomes part of a claim. You may also need support from a team that understands both cleanup and the insurance side of the loss.
Common Water Damage Scenarios
Pipe Leak
Immediate Action: Shut off water, dry the area, document damage
Key Considerations: Check walls and flooring for hidden moisture
Roof Leak
Immediate Action: Protect the area and stop more water entry
Key Considerations: Ceiling stains may point to larger hidden damage
Appliance Overflow
Immediate Action: Turn off appliance and remove standing water
Key Considerations: Floors and cabinets may hold moisture inside
Floodwater
Immediate Action: Stay safe, avoid contact, and call for help
Key Considerations: Dirty water needs stricter cleanup and caution
Bathroom Backup
Immediate Action: Limit use and protect nearby areas
Key Considerations: Check for contamination and structural drying needs
A Short 48-Hour Timeline
Here is a simple step-by-step timeline for the first 48 hours:
- Check safety and leave if needed.
- Stop the water source if possible.
- Take photos and videos right away.
- Remove standing water and start water cleanup.
- Open airflow and begin drying out.
- Separate damaged items from dry items.
- Watch for signs of mold or hidden moisture.
- Contact help for mitigation, reporting, or claim support.
This timeline keeps the response simple and focused. It helps you take action without missing the most important steps.
What to Save for Insurance Reporting
Proper documentation for your insurance company begins with keeping organized files. This includes pictures, paperwork, repair and clean-up documentation that you keep.
Be sure to make note of when you discovered the water, what its source was, and the actions taken. Document visits from contractors, emergency services, and any other estimates for repairs. If your damage requires a larger claim, organized documentation will help US Public Adjusters provide more details.
How Property Restoration Usually Starts
Restoration refers to the act of bringing the structure to a state where it can be used again without any dangers to the occupants. Usually, this starts once the water is out and there is some dryness in the building for inspection.
The initial stage could entail moisture extraction, removal of materials that are compromised, and structural drying. While the next could involve repair of drywall, flooring, molding, cabinetry, and any other area that was affected.
When the Problem May Be Bigger Than It Looks
It is often easy to spot visible water damage, but sometimes it is more serious if it goes unnoticed. Water may penetrate behind walls, beneath the floor, and inside insulating material.
If the room has a musty smell or becomes damp despite drying out, then there could still be a presence of moisture in that particular room. Hence, it is imperative to test the whole space and not only its surface.
Local Trust and Support
If you want local trust and verification, you can also view the company on our Google Business Profile for our detailed reviews and nearby services.
For direct support, visit US Public Adjusters to learn more about water damage help, mitigation, and claim guidance.
Conclusion
Knowing what to do after water damage can save time, reduce stress, and protect the property from worse problems. The first 48 hours are about safety, quick cleanup, drying out, and keeping records.
If you act early and follow a clear plan, you give the property a better chance at proper recovery. Water damage can feel overwhelming, but a simple checklist makes the situation much easier to manage.